
Simple Digital Astrophotography
This information will give you a brief introduction to simple digital astrophotography and allow you to play with some of the images you can take with a suitable digital camera. I have a Sony 4M pixel camera that has a function that allows exposures of up to 30 seconds and to set the focus to infinity manually.
Firstly visit one of my other webpages at http://www.jeffstanger.net/Astrophotography/astrophotography.html You can read the article I have written called "An introduction to simple astrophotography" and view many examples of astrophotography from the links on this page.
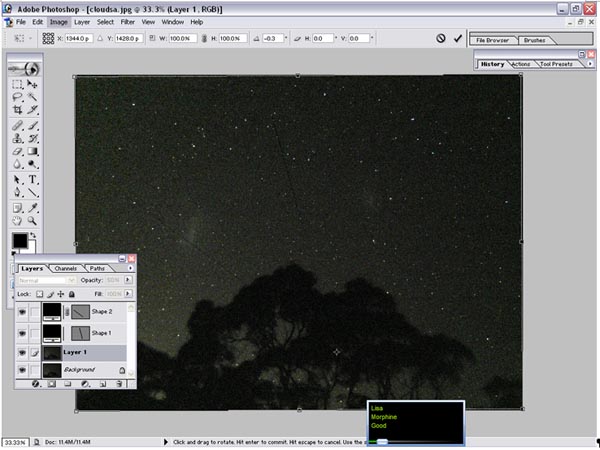
You can use photoshop to play around with your images and change the colours and brightness of the image. One of the most useful tools in photoshop is the gamma slider which brightens up an image and brings out the faint detail captured in your photos. To use the gamma slider in photoshop, open an image in photoshop, go to the image menu, select adjustments and then levels. You will now get a small window like in the image below.
The small triangle I have circled in red is the gamma slider. Try moving it back and forth and see what it does to the image you have open. You can bring out lots of detail in the image that you could not see before. So now you can discover what the images really can show you.
Another thing you might like to try is to download a trial copy of a program called registar on your home computer. I took 24 x 30 second images I took with my 4M pixel Sony digital camera one after the other on the same night. The problem with combining these images is that in that time the sky rotates so each picture is slightly misaligned from the previous one.
To demonstrate the apparent movement of the stars across the sky as I took this set of images I have constructed an animation below. Notice the thin clouds wandering overhead as I take the images.
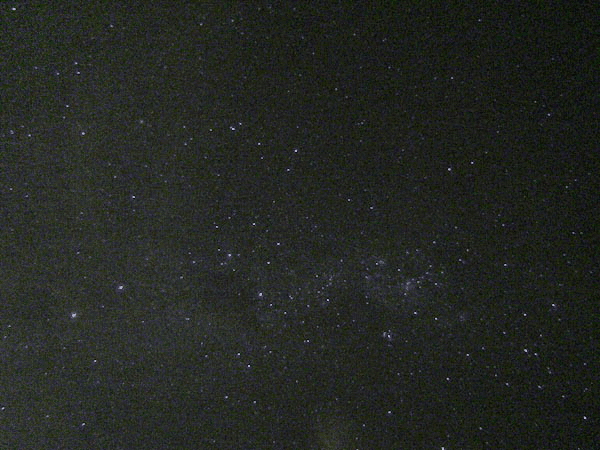
These images can be stacked on top of each other in registar because it automatically rotates each of the images by the correct amount by aligning the stars in the images. The result of this stacking can be seen below. You can see the southern cross and many other objects in this part of the sky. We will try to take some pictures to do this again when we have our astronomy night next week.

The trial version of registar means you cannot save therefore you must buy a full version to use all its functions. The end result after cropping the screen is shown below.
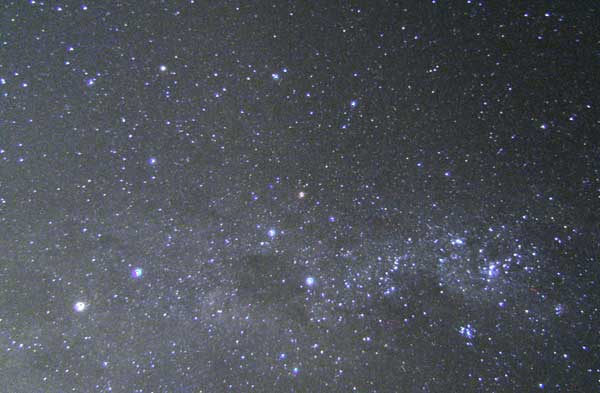
If you know this part of the sky you can see many of the objects within it i this picture although the low red sensativity of most digital cameras leads to poor imaging of nebulae like Eta Carina on the right of the image.
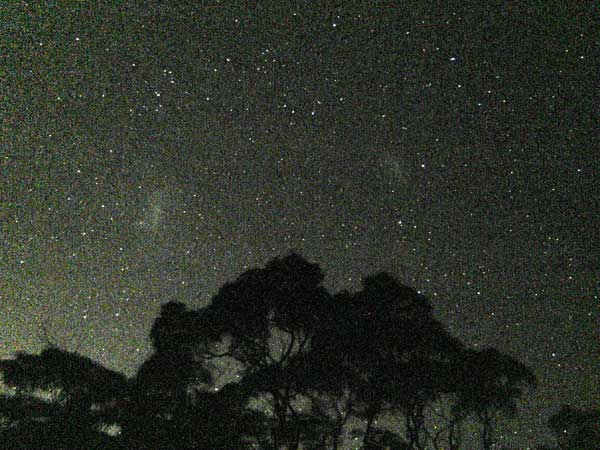
You can also try stacking these sort of images in photoshop but the process is much more complicated and you have to to the de-rotation and alignment manually and I wasn't impressed with the results after all that effort. You can see the image that resulted below and maybe even the faint black lines I had to use to align the stars.
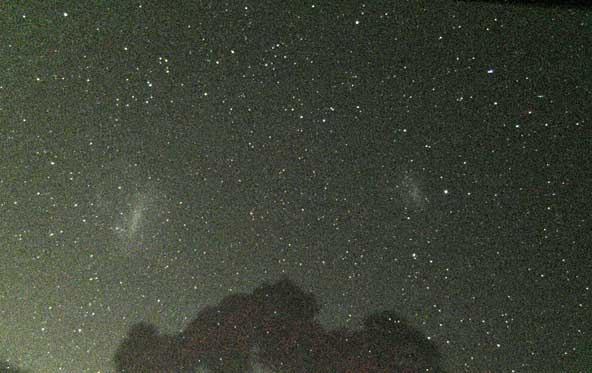
A comparison with this method: Below is a single 30 second image of the magellanic clouds
A comparison with this method: Below is 3 x 30 second images of the magellanic clouds stacked
Enjoy and if you have questions let me
know.
Simple Digital
|